Installing a light fixture
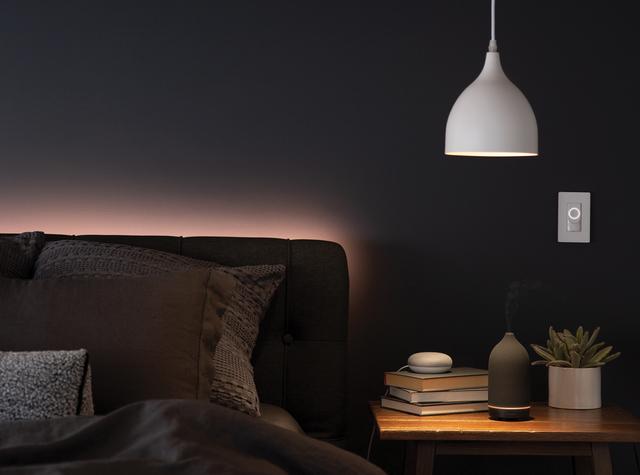
Replacing lighting fixtures is a simple way to refresh any space. You can add character with new wall sconces or create a sleek, streamlined look with an exposed chandelier. Many fixtures come with assembly instructions, but installation can be the trickiest part of all. Yet, this step-by-step guide will help you navigate the process with ease.
If you’re looking to install a new light fixture, we recommend hiring a licensed electrician. However, replacing an existing fixture is a project you can do yourself with just a few tools. You’ll need:
- A voltage tester
- Flat head screwdrivers or cordless drill with attachments
- Wire strippers
- Wire connectors
- Needle nose pliers
- A ladder
Changing a Light Fixture – Instructions
Before you begin, make sure to lay out all the pieces included with your fixture, read the instructions thoroughly, and ensure you have all the necessary tools for installation.
Step 1: Turn off the power
Before installing a light fixture, locate your home’s circuit panel. Switch off the power for the circuit where the fixture is located. Confirm the electricity is no longer flowing with the voltage tester, if necessary. If you’re having difficulty locating the circuit, turn on your fixture and turn off each circuit until the fixture shuts off. When you find the appropriate circuit, label the circuit, and turn off the wall switch. Do not restore power until you have completed installation.
Step 2: Remove decorative fixture pieces
Remove any detachable parts from the existing fixture first. This could include light bulbs, glass light covers, or shades. Typically, a decorative plate, called a canopy piece, covers the exposed hardware in the ceiling or wall. Next, you’ll need to remove the plate to expose the wiring—it’s typically attached with a screw. If the fixture in place is particularly heavy, seek a friend for help.
Step 3: Remove wiring
After removing the decorative pieces and plate, you should be able to see the capped wiring. There should be three sets of wires present: black, white, and green (or copper). Test the wires with the voltage tester to ensure there is no current present. Note how they’re attached by writing it down or taking a picture to reference later. Carefully unscrew the caps or connectors and separate the fixture wiring from the ceiling. If the wiring is uncapped, or you find this step confusing, stop and seek help from a professional electrician.
Step 4: Remove old fixture
Once you have disconnected the wires, you’re ready to remove the old fixture. If it’s heavy, seek help to support its weight or to hold the ladder. Unscrew the mounting bracket from the ceiling fixture box and carefully lower the fixture.
Step 5: Measure and cut wires
For a ceiling mounted light fixture that hangs, like a pendant light, vanity light, or chandelier, you’ll want to measure how low it will hang before installation. If it’s positioned over a table, 30 and 34 inches above the top of the table is a comfortable height for guests. Now you’ll need to cut and strip the wires. It’s best to leave an additional eight to ten inches to the hang length for later connection. Cut the wires and use your wire strippers to remove one inch of coating from each wire.
Step 6: Swap hardware plates
Carefully review the instructions that came with your new light fixture. It should have come with a hardware plate to replace the existing one. Attach the new mounting bracket to your ceiling box, making sure to weave the wires through the new plate so you can reconnect them to your fixture.
Step 7: Connect wires
Connect the ceiling and fixture wires: black wire to black wire and white wire to white wire. To connect wires, twist the frayed threads on the fixture wire to the ceiling wire and top with a cap. The grounding wire, which is often green, will either connect to a grounding screw on the grounding bar or a dedicated copper wire coming from the electrical box in the ceiling. If you see the copper wire, connect it with the green wire. If you only see a small green screw, connect the wire there. For additional information on how to wire your lighting fixture, refer to the instructions for specifics.
Step 8: Install and assemble
Push the wires into the electrical box and follow the fixture instructions for assembly. Once you’ve finished, be sure to reinstall your light bulbs. We offer a broad range of LED light bulbs and smart bulbs to fit any fixture. Enjoy the custom comfort of our CYNC line or reach ultimate style expression with our vintage LED bulbs. Or if you need a bulb with a bonus feature, our LED+ line is the ideal lighting solution.
Step 9: Turn on electricity
Now that the fixture is fully installed and assembled, your final step is to return to the circuit box and turn the power back on. Your fixture should emit a brilliant glow! If the lights don’t come on, turn the circuit back off and return to Step 7. The most likely issue is a faulty connection between the two black or two white wires.
Congratulations! You’ve completed your light fixture installation. We hope you enjoy your newly upgraded space! If you have additional questions, consult a licensed electrician, or contact customer service for more lighting tips and inspiration.

