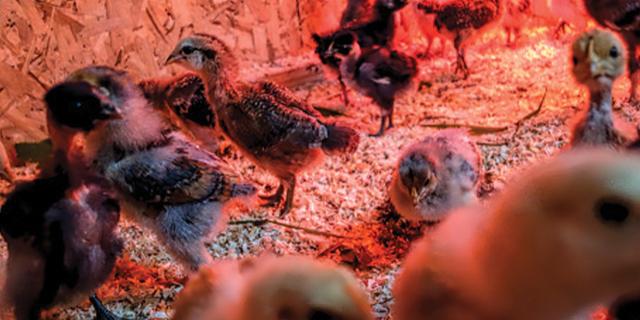
Create a warm, comfortable environment for your chicks with our Ceramic Heat Lamp—which can be added to a ceramic bulb socket and adjusted with a lighting dimmer switch. Here are a few ways our Ceramic Heat Lamp helps you—and your chicks—thrive.


Reduces Energy Usage
It uses less energy compared to
incandescent heat lamps.

Longer Life
It lasts longer than
incandescent heat lamps.

More Durable
Compared to our glass heat lamps,
ceramic provides more durability.

Converts bulb sockets to heat emitters.
Add to any fixture with a ceramic socket to create the right environment for growth.


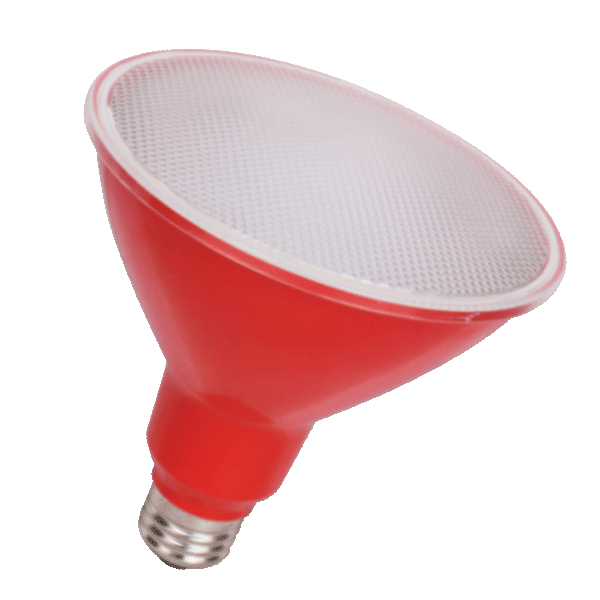
Pair with a GE Red LED Floodlight to reduce pecking.
By adding a Red LED Floodlight* (sold separately) next to your Ceramic Heat Lamp and turning it on during the day, you can help prevent pecking and even help establish your chicks’ circadian rhythms.
*Works in wet or damp areas.

Getting the most out of your Ceramic Heat Lamp:
- Position the lamp 18 – 24” above the chicks
- Ensure the lamp has a direction reflector to help direct the heat in an optimal direction
- Add more lamps for larger enclosures
Setting the right temperature.
For newborn chicks, the ideal surface temperature is 95 degrees. After week one, the temperature should be decreased by 5 degrees weekly. To lower the temp, simply adjust it at the lighting dimmer switch or raise the position of the heat lamp.
Important tips:
- Before touching, make sure the power indicator light is off
- Wait 30 minutes after turning off before handling
- Can be used in damp indoor enclosures
When using the lamp, if temperatures at or above 85°F are needed, an enclosure is required. In the open air, environment temperatures may not reach 85°F.
